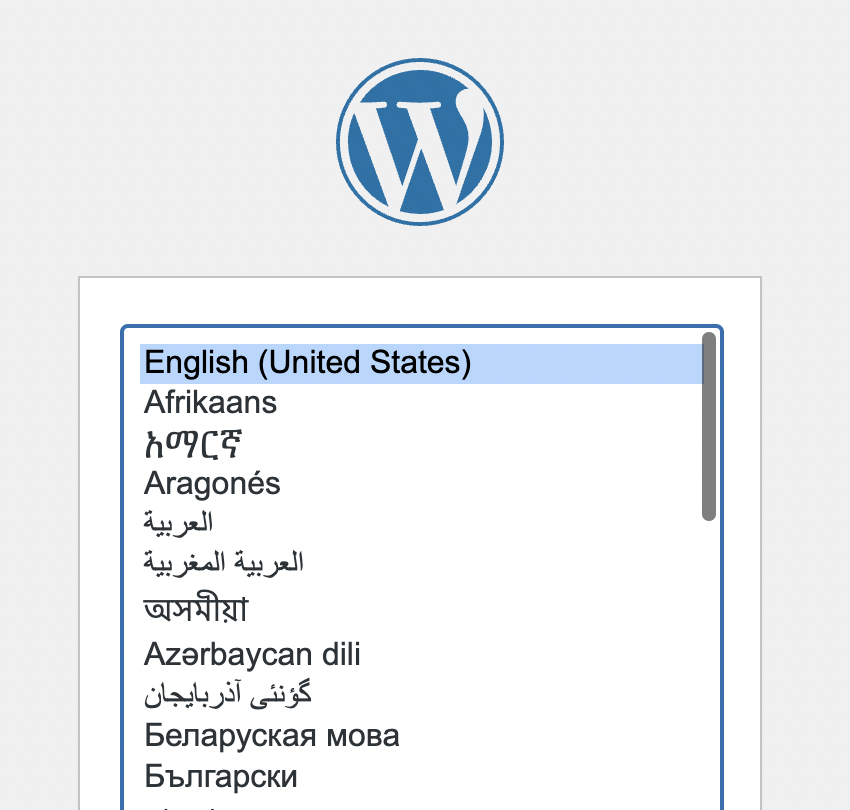
All website software, including platforms like WordPress, Joomla, and Magento, is designed for manual installation. Here's a general guide on how to install software like WordPress manually.
1. Download the Software
First, download the latest stable version of the software from the provider’s website. Ensure to check the server requirements, such as the specific PHP version needed. If necessary, adjust your PHP version through cPanel.
2. Upload Installation Files
Next, upload the installation files to your webspace. It’s recommended to use FTP or SFTP for this process.
3. Access the Installation File
Most software packages include an install file. Access this file in your web browser to start the installation process. If an install file is not present, there will be a configuration file where you can enter the necessary details.
4. Enter Database Credentials
You will need to enter your database credentials during the installation. Create a user and database in cPanel, and use these details in the installation process. The server hostname is typically "localhost."

5. Complete the Installation
Once you save the information, the installation should complete, and you can begin using the software.
Manually Installing WordPress
To manually install WordPress, you will need a hosting company and a domain name to make your site accessible online. Here’s a step-by-step guide:
1. Choose Your Installation Method
Decide whether to use the quick five-minute installation (if your host supports Softaculous) or go for a manual installation using cPanel or FTP.
2. Log into cPanel
Log into your cPanel account. Navigate to the File Manager and click on the public_html directory where you want to install WordPress.
3. Upload the WordPress ZIP File
Click the Upload button in the toolbar. Select the downloaded WordPress .ZIP file and upload it. After the upload is complete, click the Go Back link.
4. Extract the Files
Click on the uploaded WordPress .ZIP file and hit the Extract button in the toolbar. A window will appear asking where to extract the files; click "Extract File(s)" to proceed.
5. Move WordPress Files
Once the files are extracted, you will see a WordPress folder in the directory. You need to move its contents to the main root of your domain. Open the WordPress folder, select all files, and click the Move File button. Remove "wordpress" from the file path (e.g., change from http://public_html/wordpress to /public_html/), then click Move File(s).
After these steps, your WordPress installation should be complete, and you can start customizing your website.
