PHP is a powerful server-side scripting language commonly used to build dynamic websites and applications. It’s often bundled with MySQL to manage databases, and it integrates smoothly with HTML. Most hosting accounts come with PHP pre-installed, allowing you to use it directly without additional setup.
Changing Your PHP Version in cPanel
Updating the PHP version for your website can be beneficial for performance, security, and compatibility. Here’s how to select and customize PHP in cPanel:
-
Log into Your cPanel:
- Access your hosting account’s cPanel with your username and password.
-
Go to the Select PHP Version Tool:
- In the Software section, click on Select PHP Version.
-
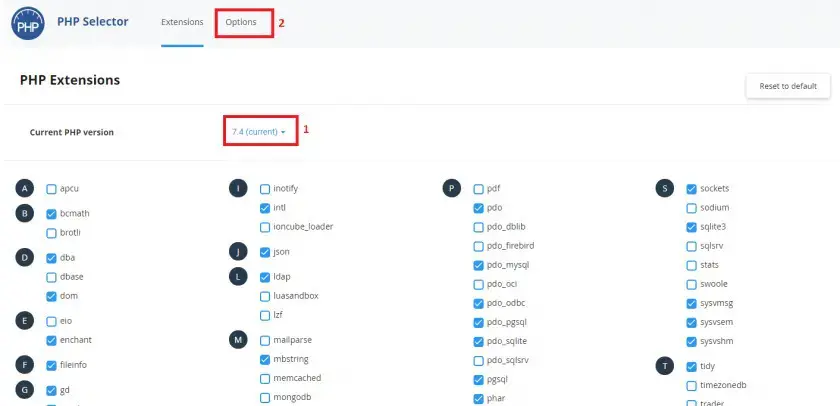
Select the PHP Version:
- From the drop-down menu, choose the PHP version you want to use. After selecting, click Set as current to apply it.
- Below the version selector, you’ll see PHP modules specific to that version, which you can enable or disable as needed.
-
Adjust PHP Settings:
- Click on the Options tab to change various PHP settings. Common adjustments include:
- upload_max_filesize: Defines the maximum file size for uploads. Increase this if you need to upload larger files, such as database backups.
- post_max_size: Sets the maximum size for POST data, often used in forms. Adjusting this helps with handling larger form submissions.
- max_execution_time: Limits the maximum execution time for scripts. Increase this if you need longer scripts to run without timing out.
- display_errors: When set to On, PHP errors will be displayed in the browser, useful for debugging. By default, it’s set to Off for security.
- Click on the Options tab to change various PHP settings. Common adjustments include:
These steps make it easy to customize PHP for your website’s needs. Adjusting PHP versions and settings in cPanel allows you to optimize performance and maintain compatibility with specific applications or legacy software.
