How to Restore Your Website
Almost everyone knows how crucial a website and its content are. Having a full backup of your site in case something goes wrong is not only necessary but indispensable.
4xHost, as one of the best hosting companies available, offers automatic twice-daily backups to ensure you always have a Plan B. If your website suddenly stops working, you can easily restore it to the time when it last functioned properly through the cPanel’s JetBackup feature.
In this article, we will provide a step-by-step guide on how to restore your website files and database through JetBackup 5.
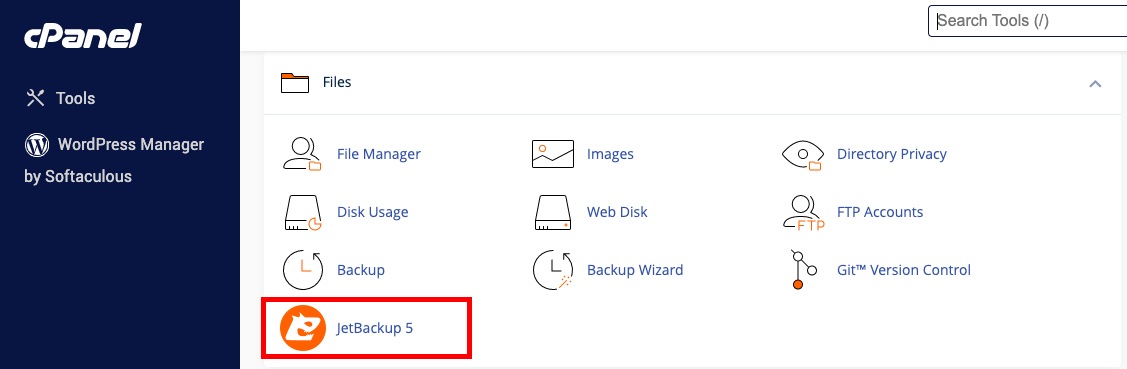
Step 1: Access JetBackup
First, log in to your cPanel dashboard and type "JetBackup 5" in the top right search bar, or find the File Backups option within the JetBackup section.
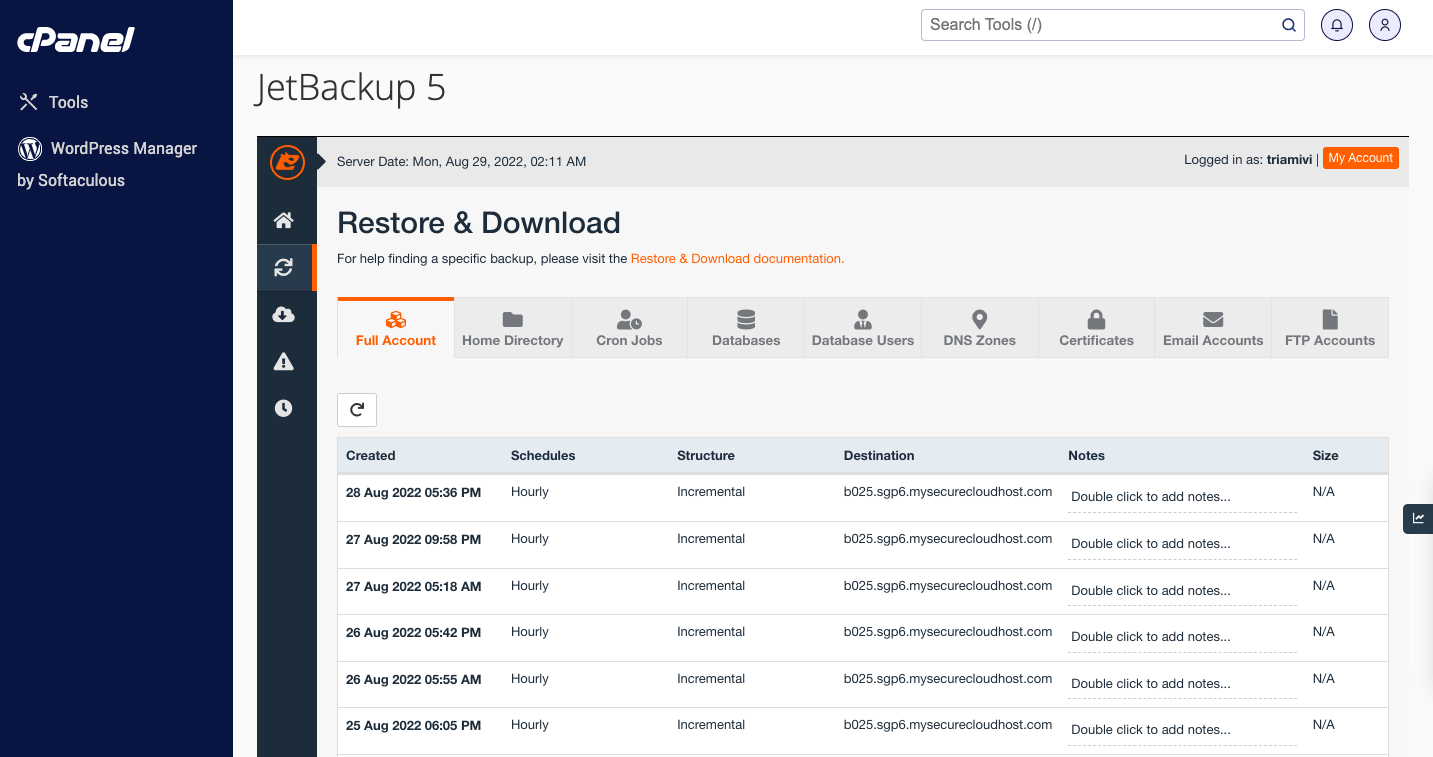
Step 2: Select Backup Version
You will now be presented with a list of file backups that were taken for your account. Find the version you wish to restore. In this case, we will pick the most recent backup available.
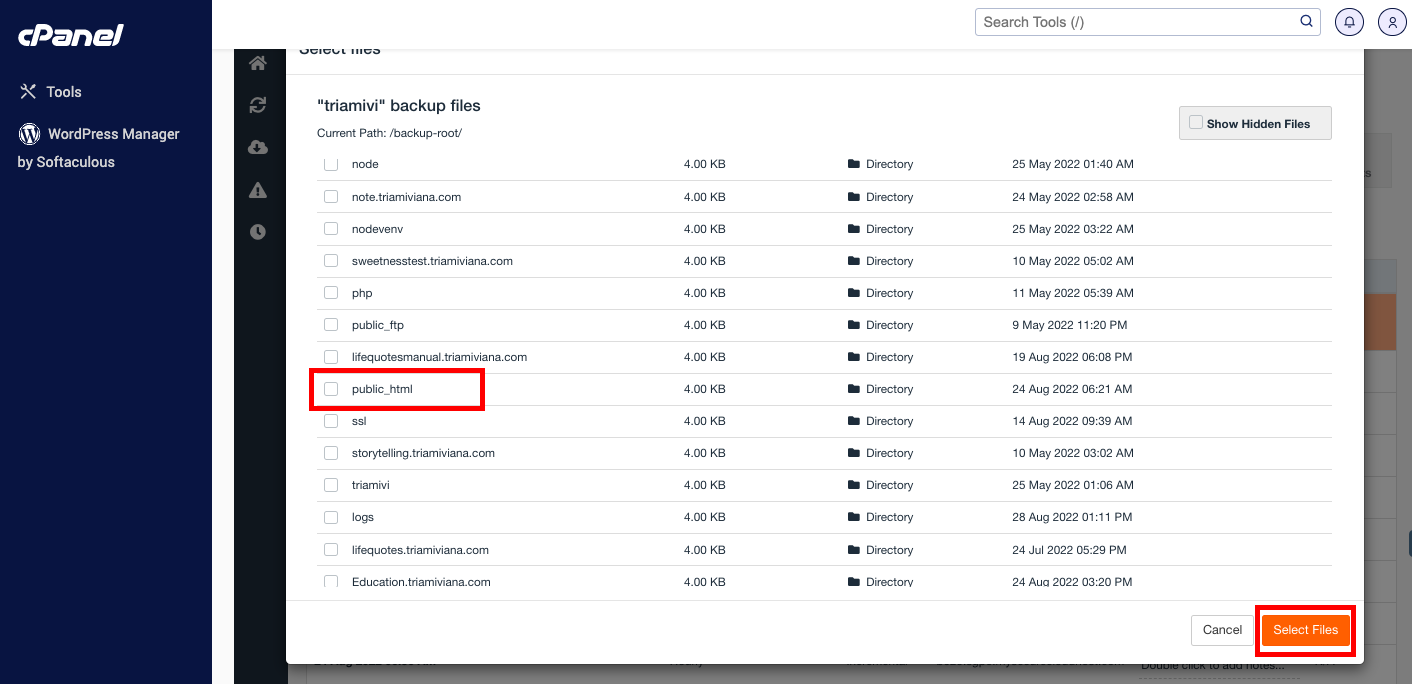
Step 3: Restore Website Files
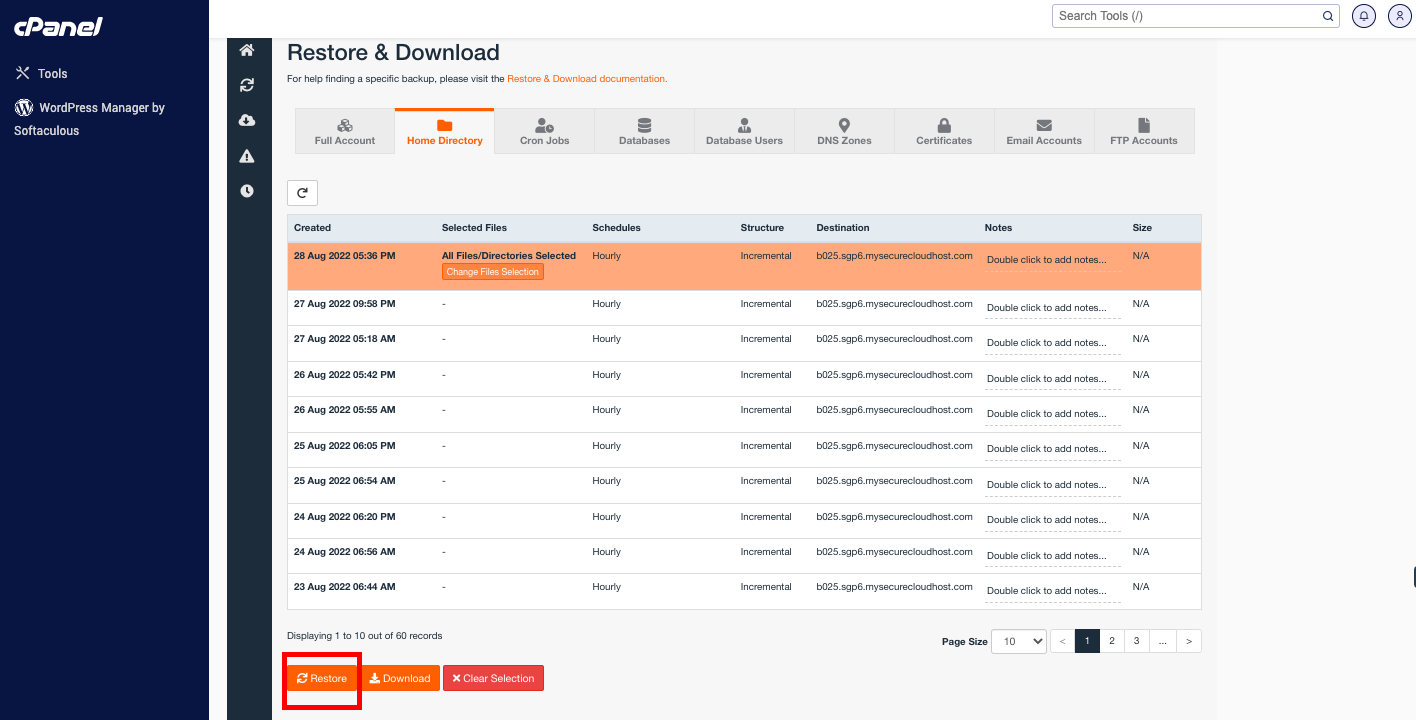
Now you will see your account's home directory. Normally, your website files will be located within a folder called public_html. Tick the checkbox next to its name and click the Restore Selected button. Next, another button will appear; go ahead and click it. Please keep in mind that this will overwrite everything within your public_html folder.
Once the restore progress has been initiated, click the Go Back button on this page and the next page to return to the JetBackup 5 main page.
Step 4: Check Restore Progress
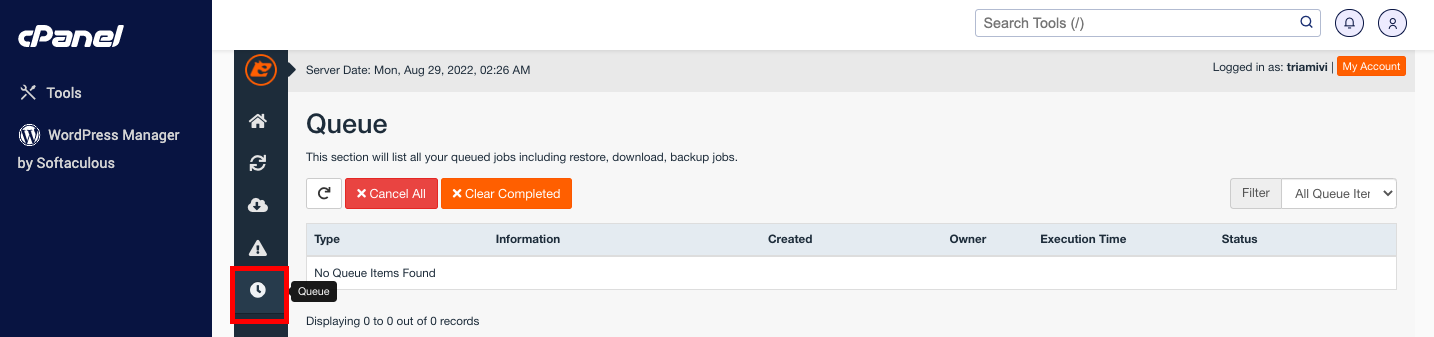
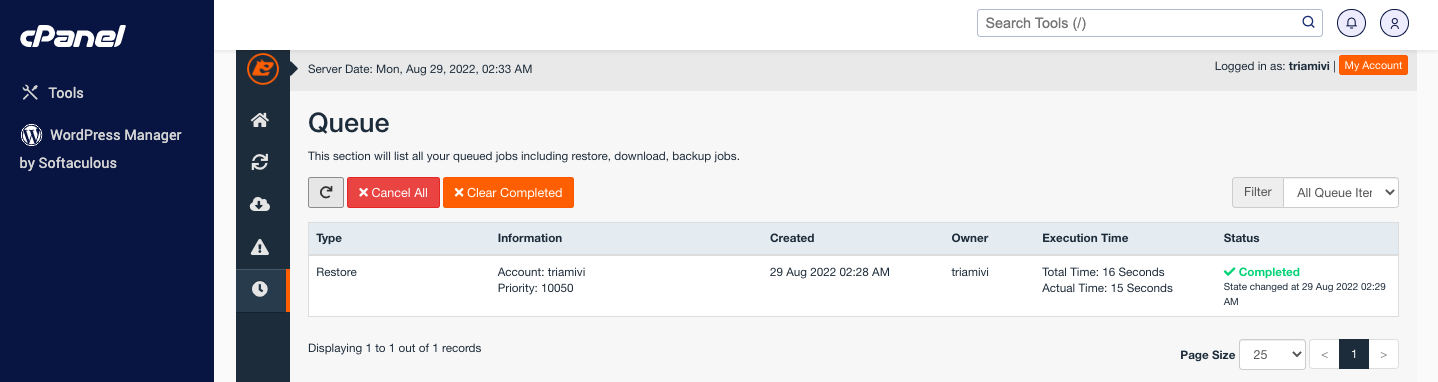
On this page, click the Queue option to see the restore progress. Once it’s completed, the status will be updated without you having to refresh the page.
Step 5: Verify Website Functionality
Now check your website and see if it loads properly. If you still notice issues, it might be necessary to restore the corresponding database as well. Once again, press the Home logo in JetBackup 5 and select Database.
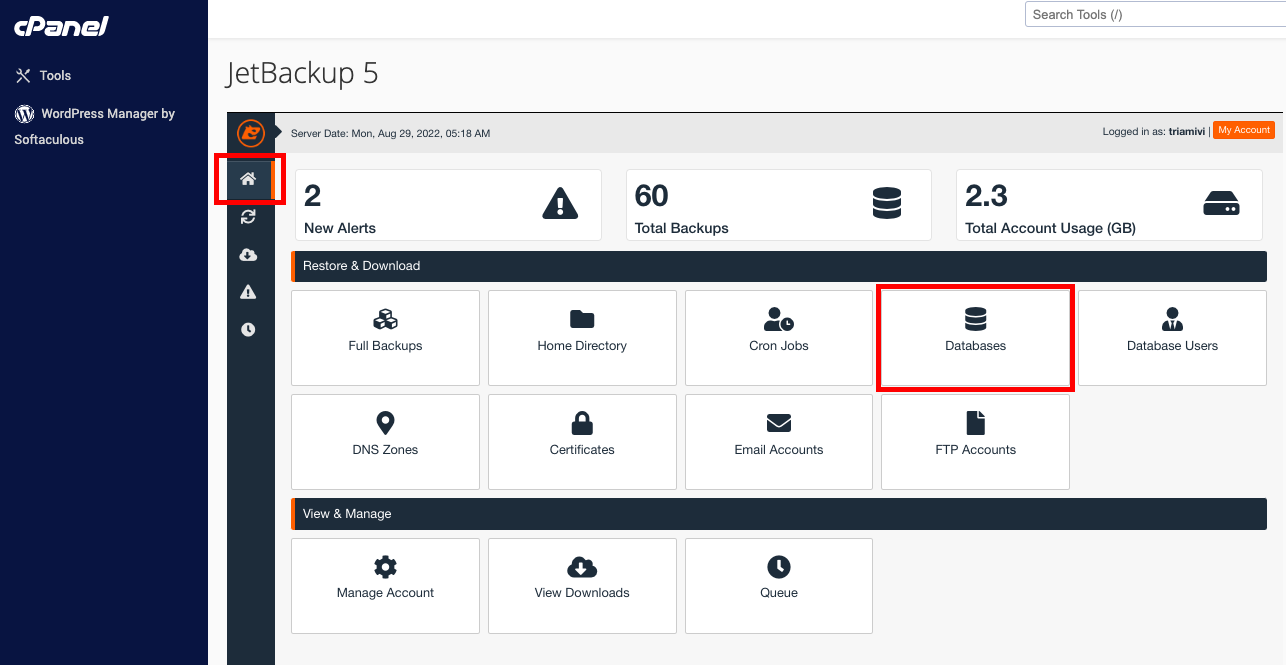
Step 6: Restore Database
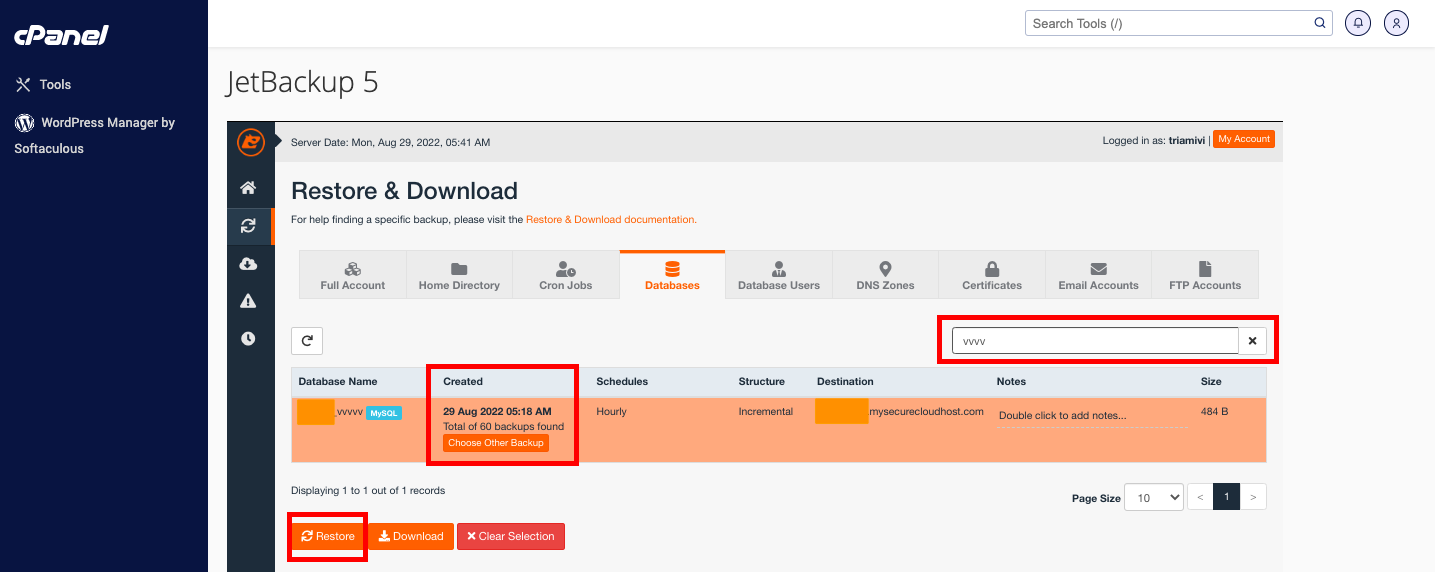
You will now see a list of database backups, which could be overwhelming if you have multiple databases within your account. However, all you have to do is paste your database name in the search bar. Once you find the appropriate date you’d like the database to be restored to, click Restore.
Step 7: Monitor Database Restore Progress
You can now go back to the Queue page to view the progress. Once it’s completed, check your website again, and it should now display the version from the date you chose to restore.
Alternative: Download a Backup
Alternatively, if you do not wish to restore, you can download a backup of your website to your local machine. The download button is located beside the restore button; all you need to do is click the Download button to download a copy of your website to your device.
