Configuring Autoresponder for your Email Account
An Autoresponder is a program that automatically replies to emails it receives. Many autoresponders are available, ranging from simple to more complex ones. This guide will cover how to set up your autoresponder using your cPanel.
cPanel is a user-friendly control panel that gives you access to tools for modifying your website and its settings. It allows you to control your website’s appearance and functionality for your customers (the "end users") with ease, even if you’re not a professional.
With that in mind, here’s how to configure an autoresponder for your email account via your cPanel.
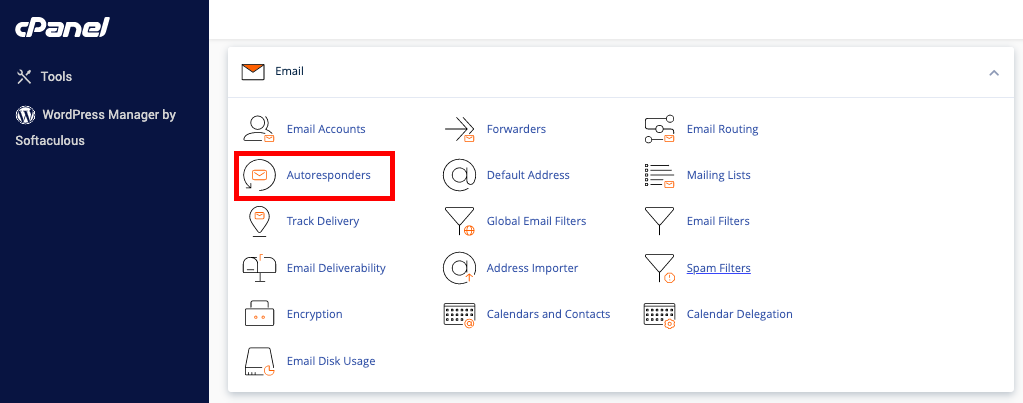
Log in to Your cPanel: Once logged in, navigate to the Email section and select the Autoresponders tool. This will take you to a page displaying your existing autoresponders and a button for adding new ones.
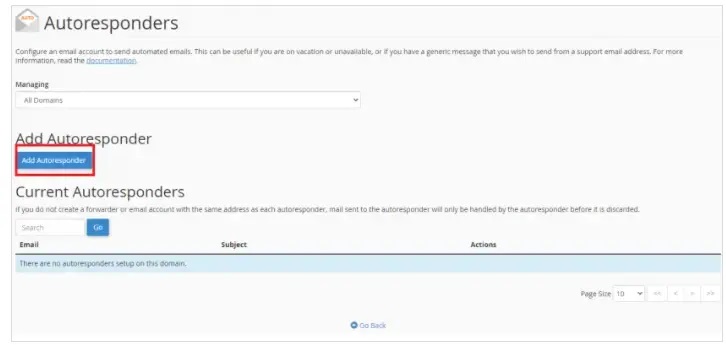
Click on "Add Autoresponder": To set up a new autoresponder for your email account, click the Add Autoresponder button.
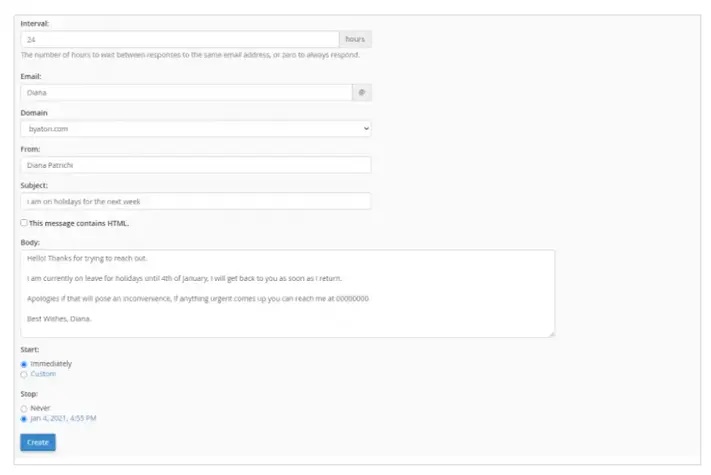
Configure the Settings:
Interval: This setting controls how long (in hours) the autoresponder waits before responding again to the same email address, which is useful if someone emails you multiple times.
Email: Enter the email address where the autoresponder will be used.
From: Specify the sender’s name, such as your own name or a department name.
Subject: Set the subject line for the automated reply (e.g., “In a meeting”).
Body: Write the content of the automated message. You can use HTML to include links, images, and other elements if needed. Often, people include information like their return date from a holiday.
Start and Stop: These options let you set specific times for when the autoresponder should begin and end, so it will activate and deactivate automatically.
With these settings in place, your autoresponder will be ready to go, replying to incoming messages based on the parameters you’ve configured.
